If you’re without a portable fridge or freezer, one of the biggest problems you’ll face on extended trips is keeping things cold. Whilst relying on ice as a main source of refrigeration isn’t ideal, there are many ways to extend its lifespan to keep you away from civilization for that little bit longer.
Choosing an icebox
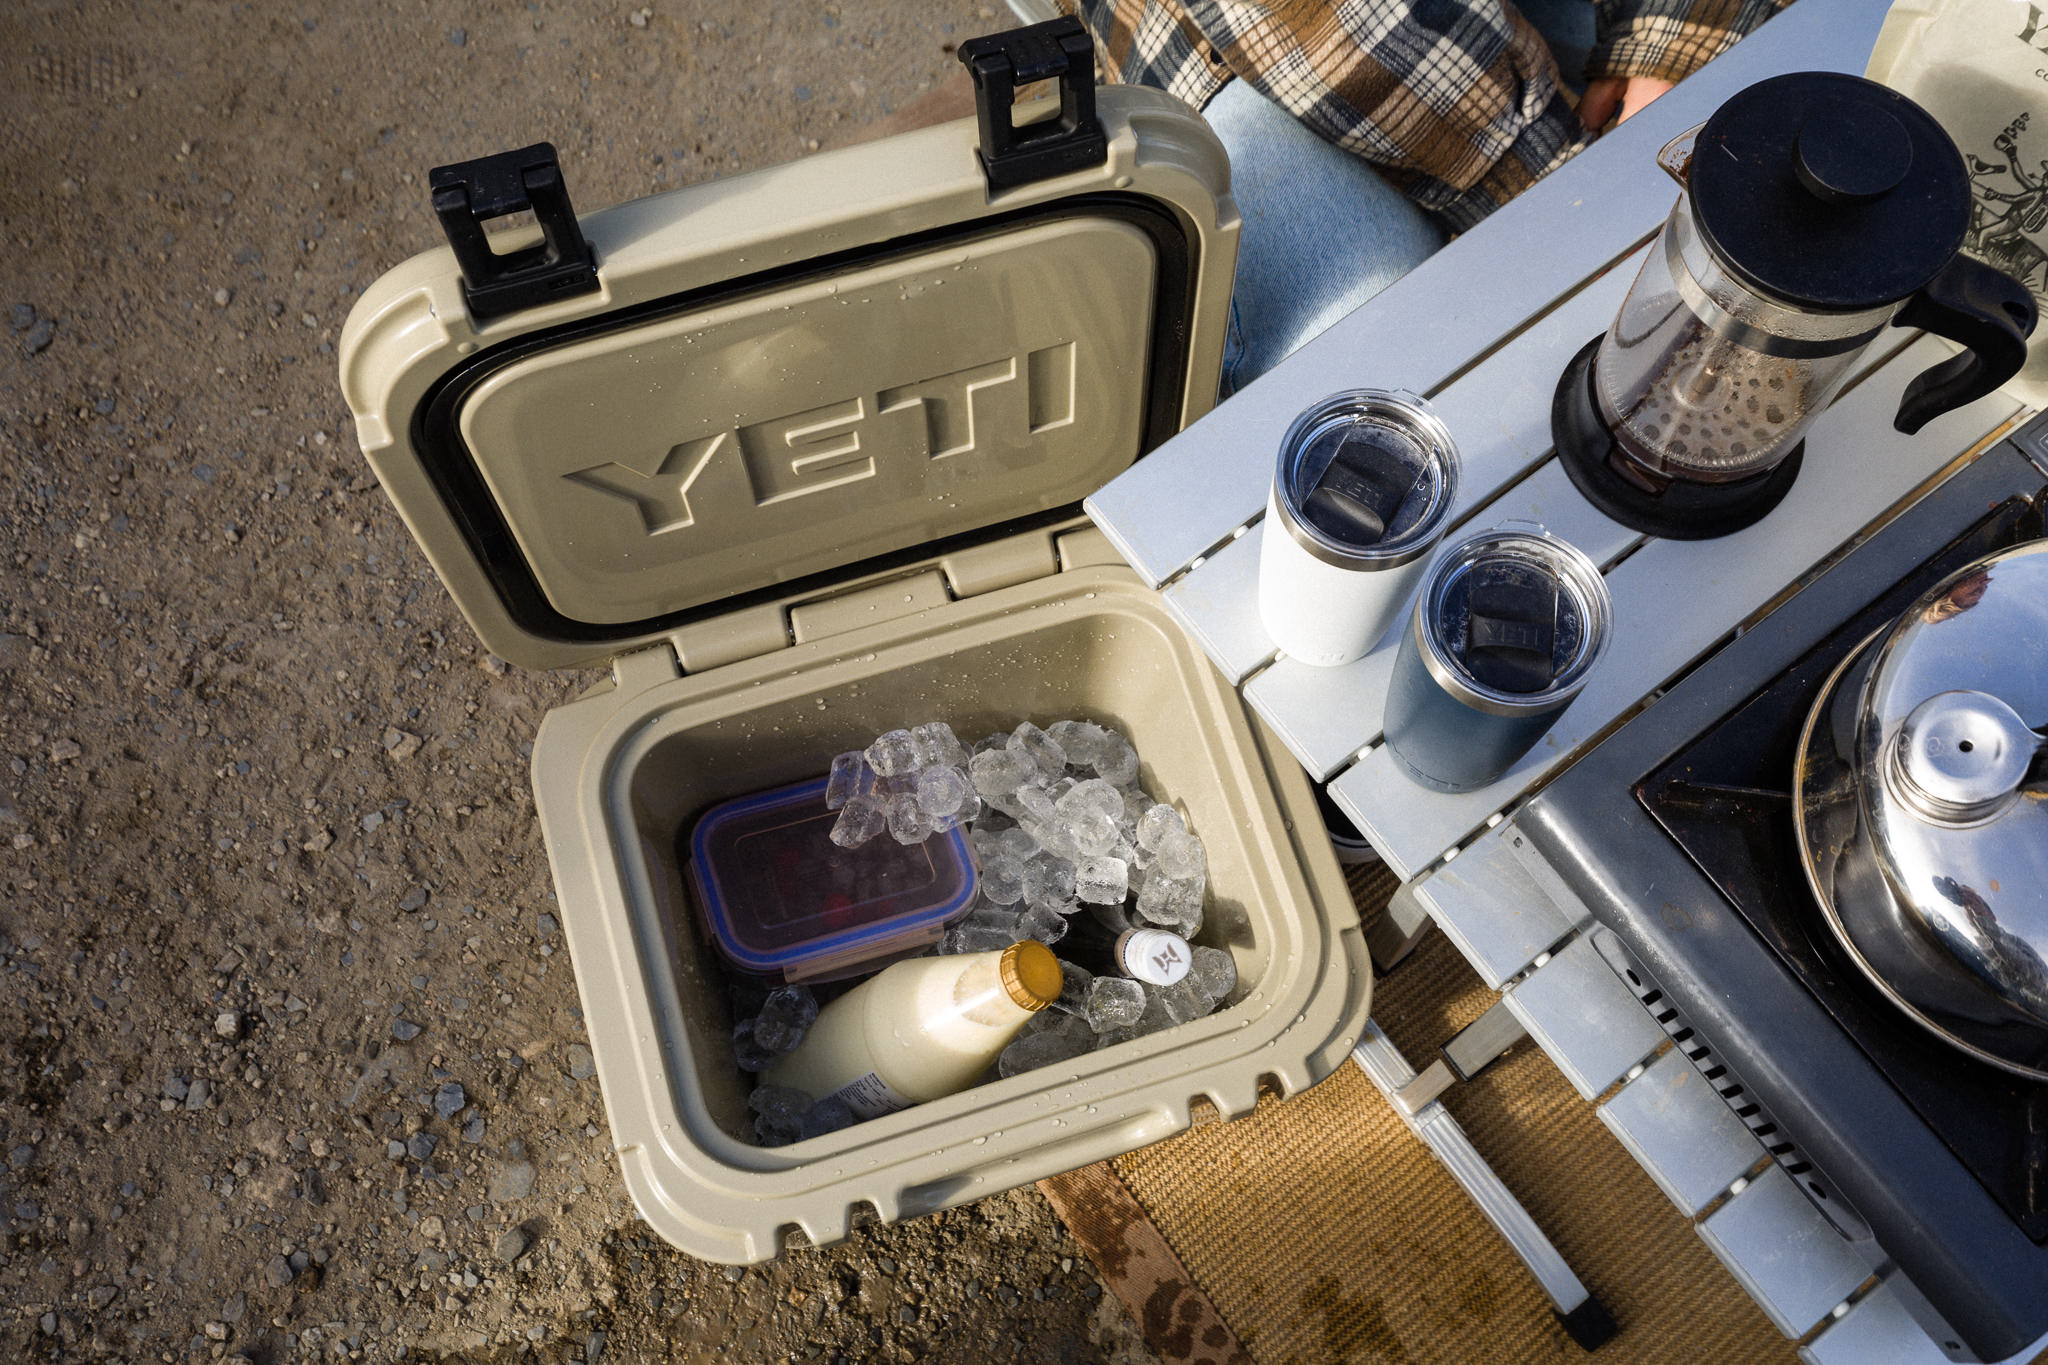
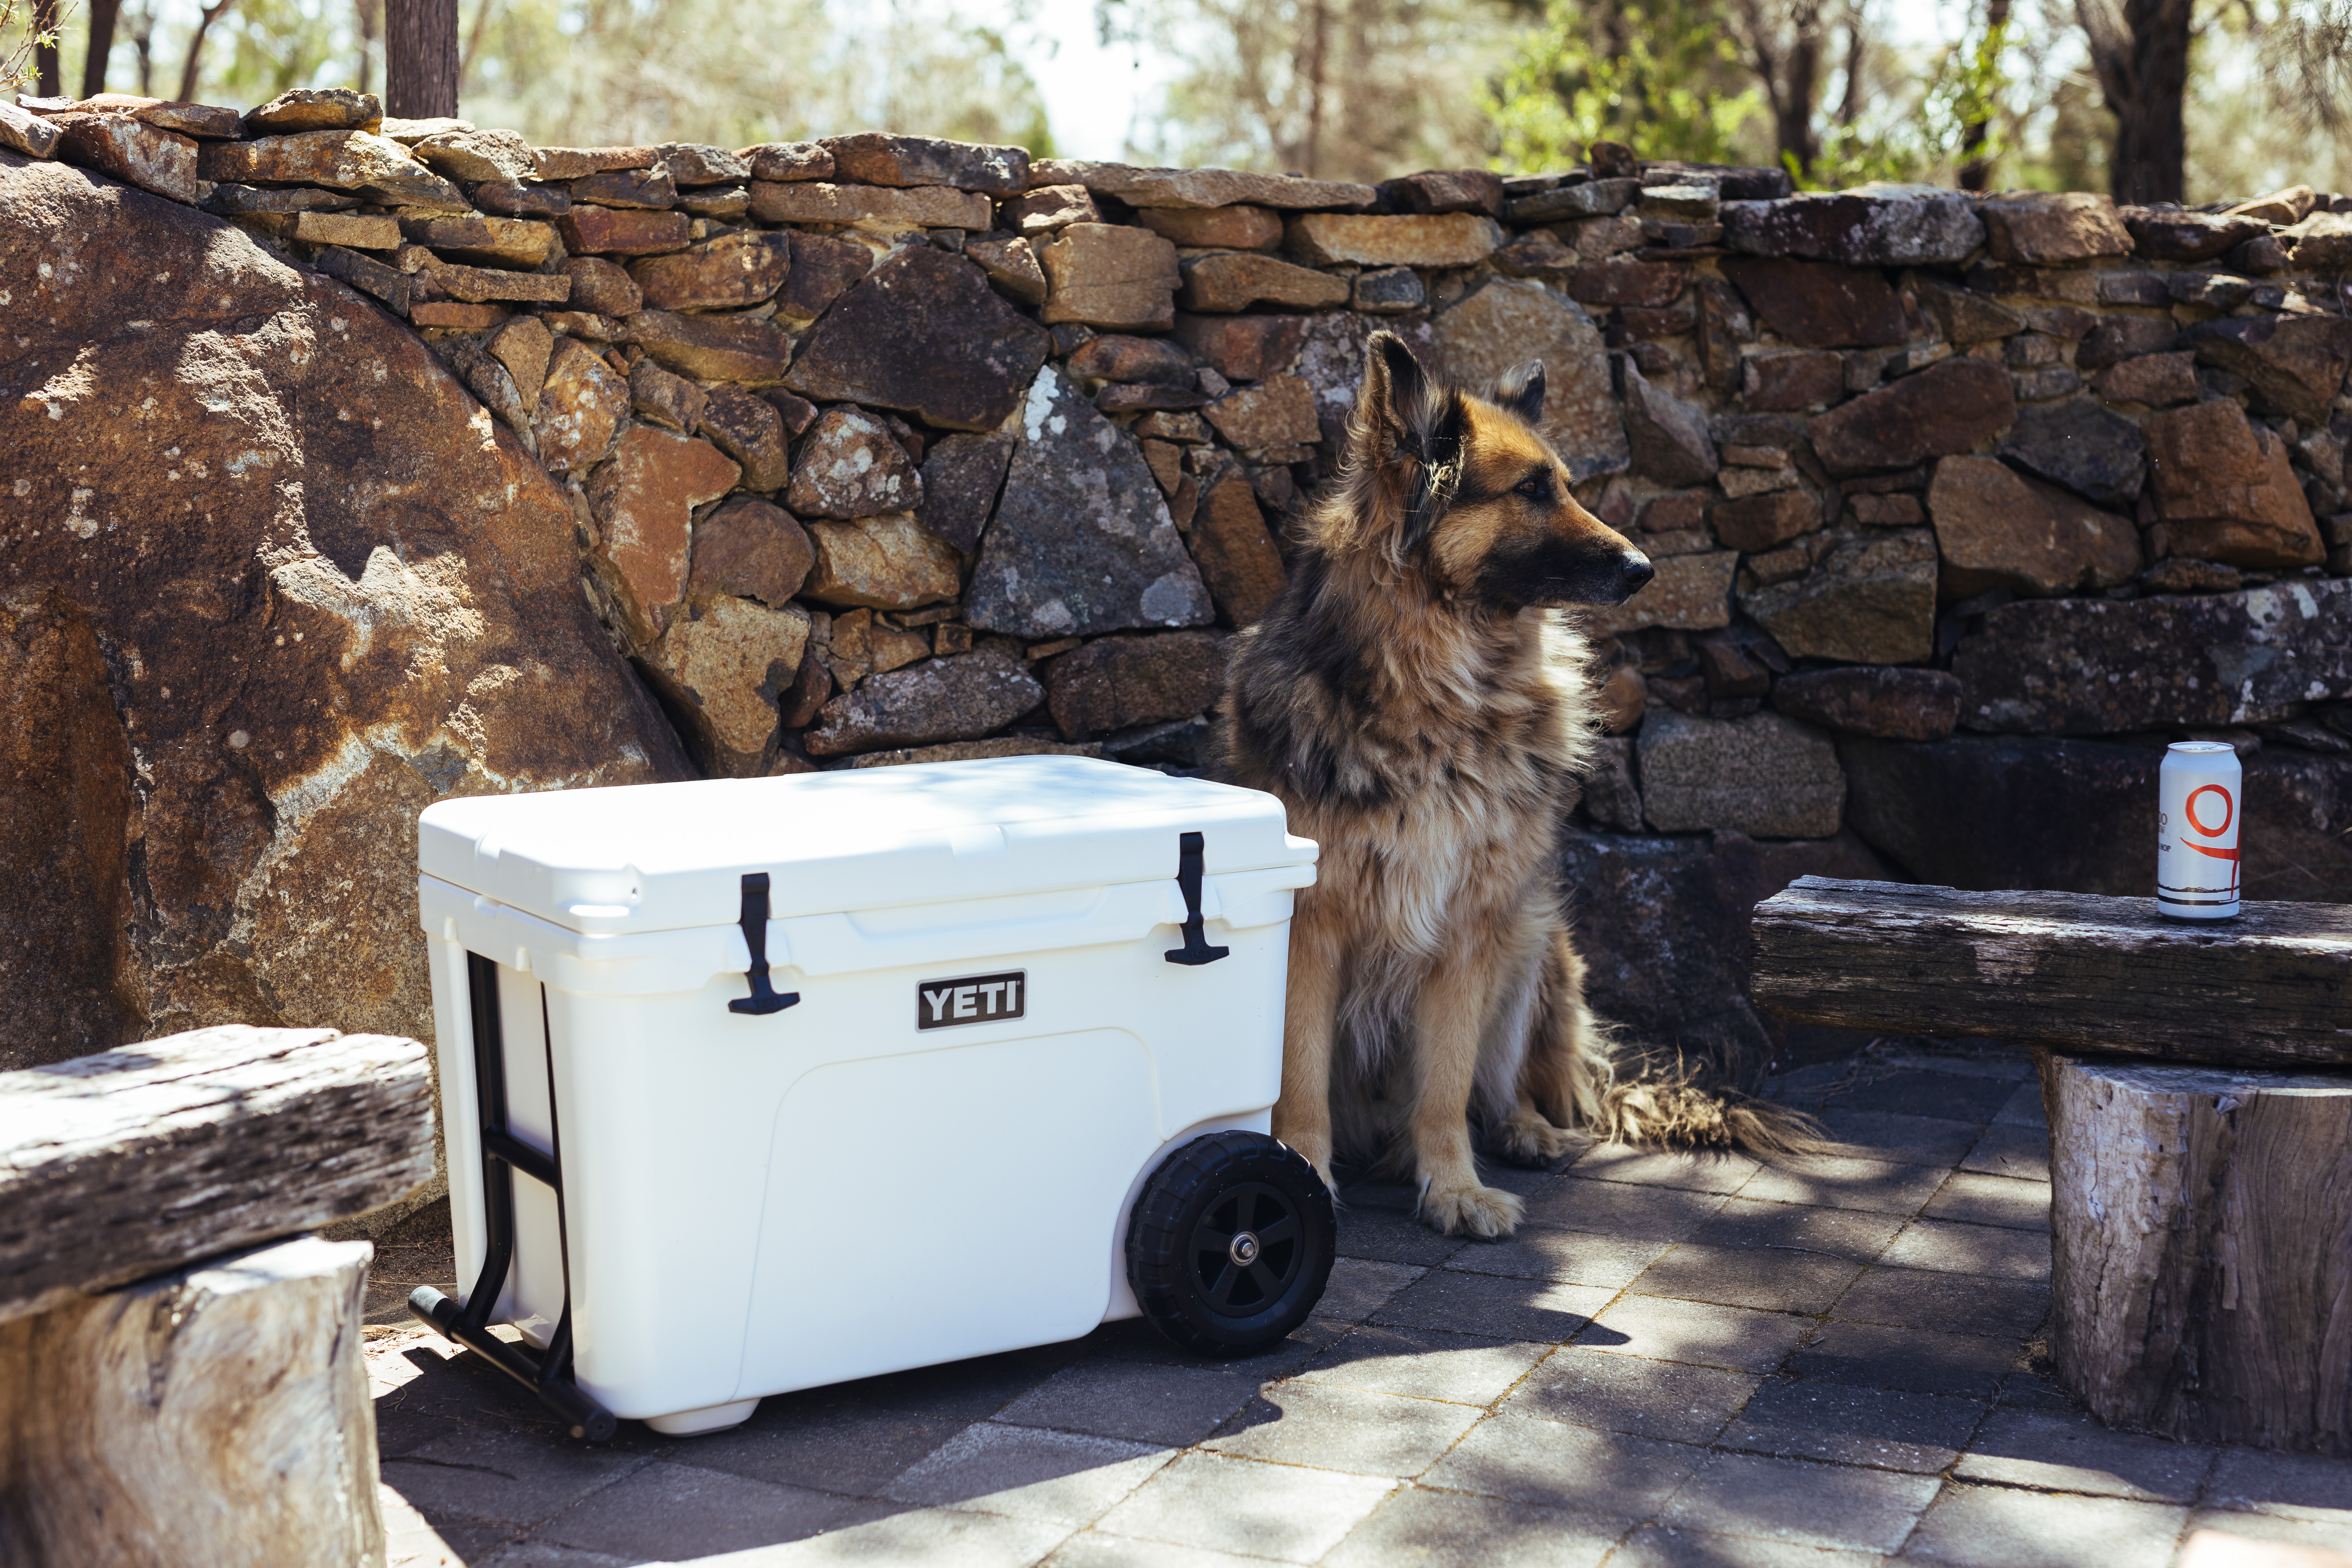
Icebox selection is critical to the longevity of your ice. Unfortunately, the cheap backyard BBQ iceboxes just don’t cut the mustard. Insulation is key! Fibreglass and thick-walled, blow-moulded iceboxes are about as good as you’ll get without needing to plug them in. The thicker the walls, the more insulation there is to stop ambient heat seeping in and internal cool leaking out. Generally, these iceboxes come with a higher price tag, but, when you’re sipping a frosty cold beer, 4 days into a trip, it will be worth every penny. Also, go as big as you can practically fit. The more room you have, the more ice you’ll be able to store, keeping it colder for longer.
1. Make your own freeze bricks 1,2 & 3L juice bottles make perfect DIY freeze bricks. Simply fill with water (be sure to leave room for ice expansion or you’ll blow the lid off!) and put in deep freeze 3 or more days before your trip. You want these to be as frozen solid as possible before you leave. Hot tip: Add a few tablespoons of salt to the bottles and dissolve it in the water before freezing. Salted water freezes at a much lower temperature to normal water, in turn, making them a lot colder than regular ice. Be careful not to add too much salt or it may not completely freeze.

2. Pre-chill your Icebox The day before you leave, chuck a bag of party ice into the icebox to bring it down to temperature. Before packing, tip out the remains from the previous day and replace with fresh ice and freeze bricks. Getting an icebox from hot to cold initially chews a lot of ice, so it’s a great idea to get that process out of the way before adding your trip ice.
3. Block, bricks, packs and crushed Successful long-term ice storage requires a combination of all 4 of these ice forms. Blocks and bricks are solid ice, meaning they have a larger mass allowing them to stay frozen/colder for longer. Pack the bottom and sides of your icebox with block ice and ice bricks. Use the crushed ice and ice packs to fill any gaps once you have added your contents.
4. Food and drink prep Pre-chill all the food and drink you wish to keep cold. In the case of drinks, set your fridge as cold as possible without freezing them. For food, freeze anything that won’t be eaten in the first two days. Meats, breads and prepared meals are all prime candidates to be frozen.
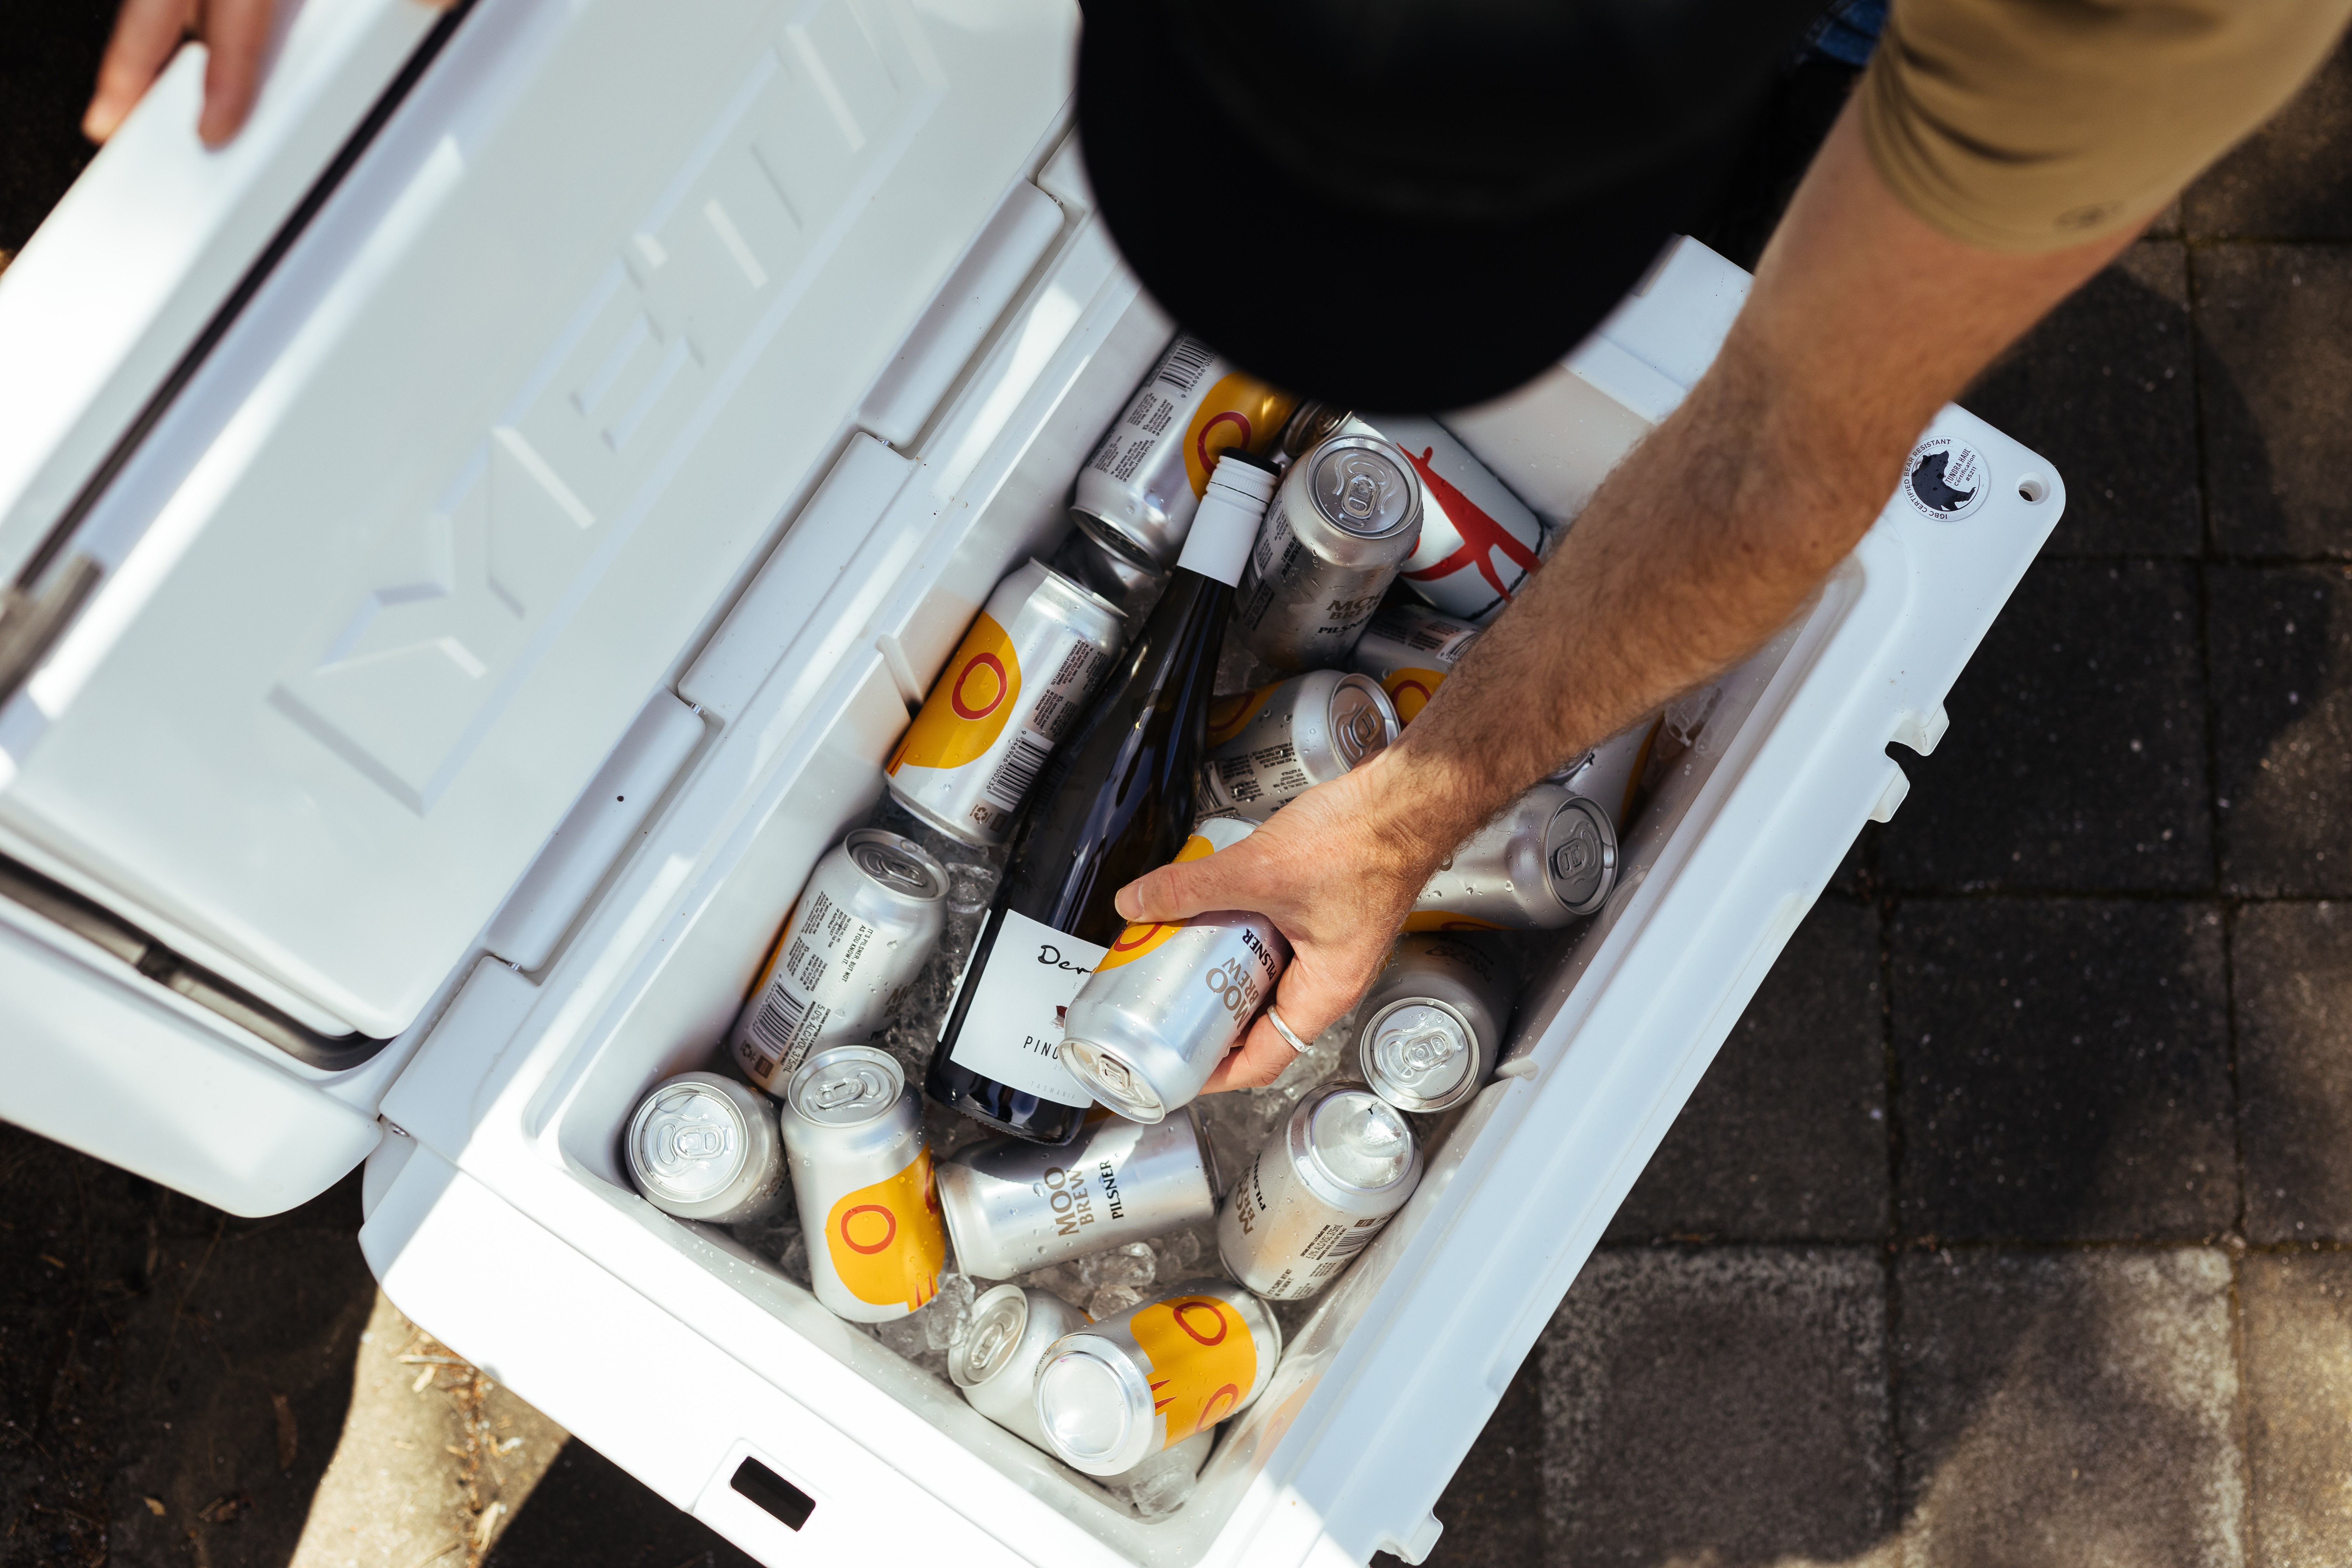
5. PackingPacking smart will significantly increase the shelf life of your ice and food. Two effective options are; utilising a divider or packing in layers. If you have a divider in your icebox you can use this to your advantage by having one side as a makeshift ‘freezer’ and the other as a ‘fridge’. Keep all the frozen goods and block ice to one side, and items that only need to be kept cold on the other with ice packs and crushed ice. Hot tip If you don’t have a divider you can always use a large tupperware container. Packing in layers is another successful way of keeping everything colder for longer. Frozen items will go down the bottom of the icebox directly onto the block ice or freeze bricks. Above them add items that are best kept really cold (raw meats, dips, butter etc). Finally, place items that need to be the least cold on top (salads and fruit). Be sure to pack items in the order they will be consumed. Unnecessary digging only messes up your neat packing.

6. Top it upIf there is any spare space once you’ve added your supplies, be sure to fill them with whichever of the 4 ice products you can fit. Ice packs are perfect for this application. Air spaces are a silent ice killer. The more air is able to circulate, the harder it is to keep it all cold.

7. Drinks and food If possible take two iceboxes on your adventures, one solely for drinks and the other for food. Obviously, the drinks icebox tends to be opened more often than the food, so your able to contain the cold in the food icebox a lot more effectively without unnecessary openings. The fact of life is, the more you abuse the drinks icebox, the shorter its ice will last. So, how you manage that one is entirely up to you! Go too hard, to early, and you might be drinking warm beers by the end of the trip! Also, plan your trips into the icebox. Each time the lid is opened, warm air floods into your meticulously chilled box. So, less is best. Ask around before you grab a fresh drink, and know what you need to grab before you go rummaging through your food supplies.

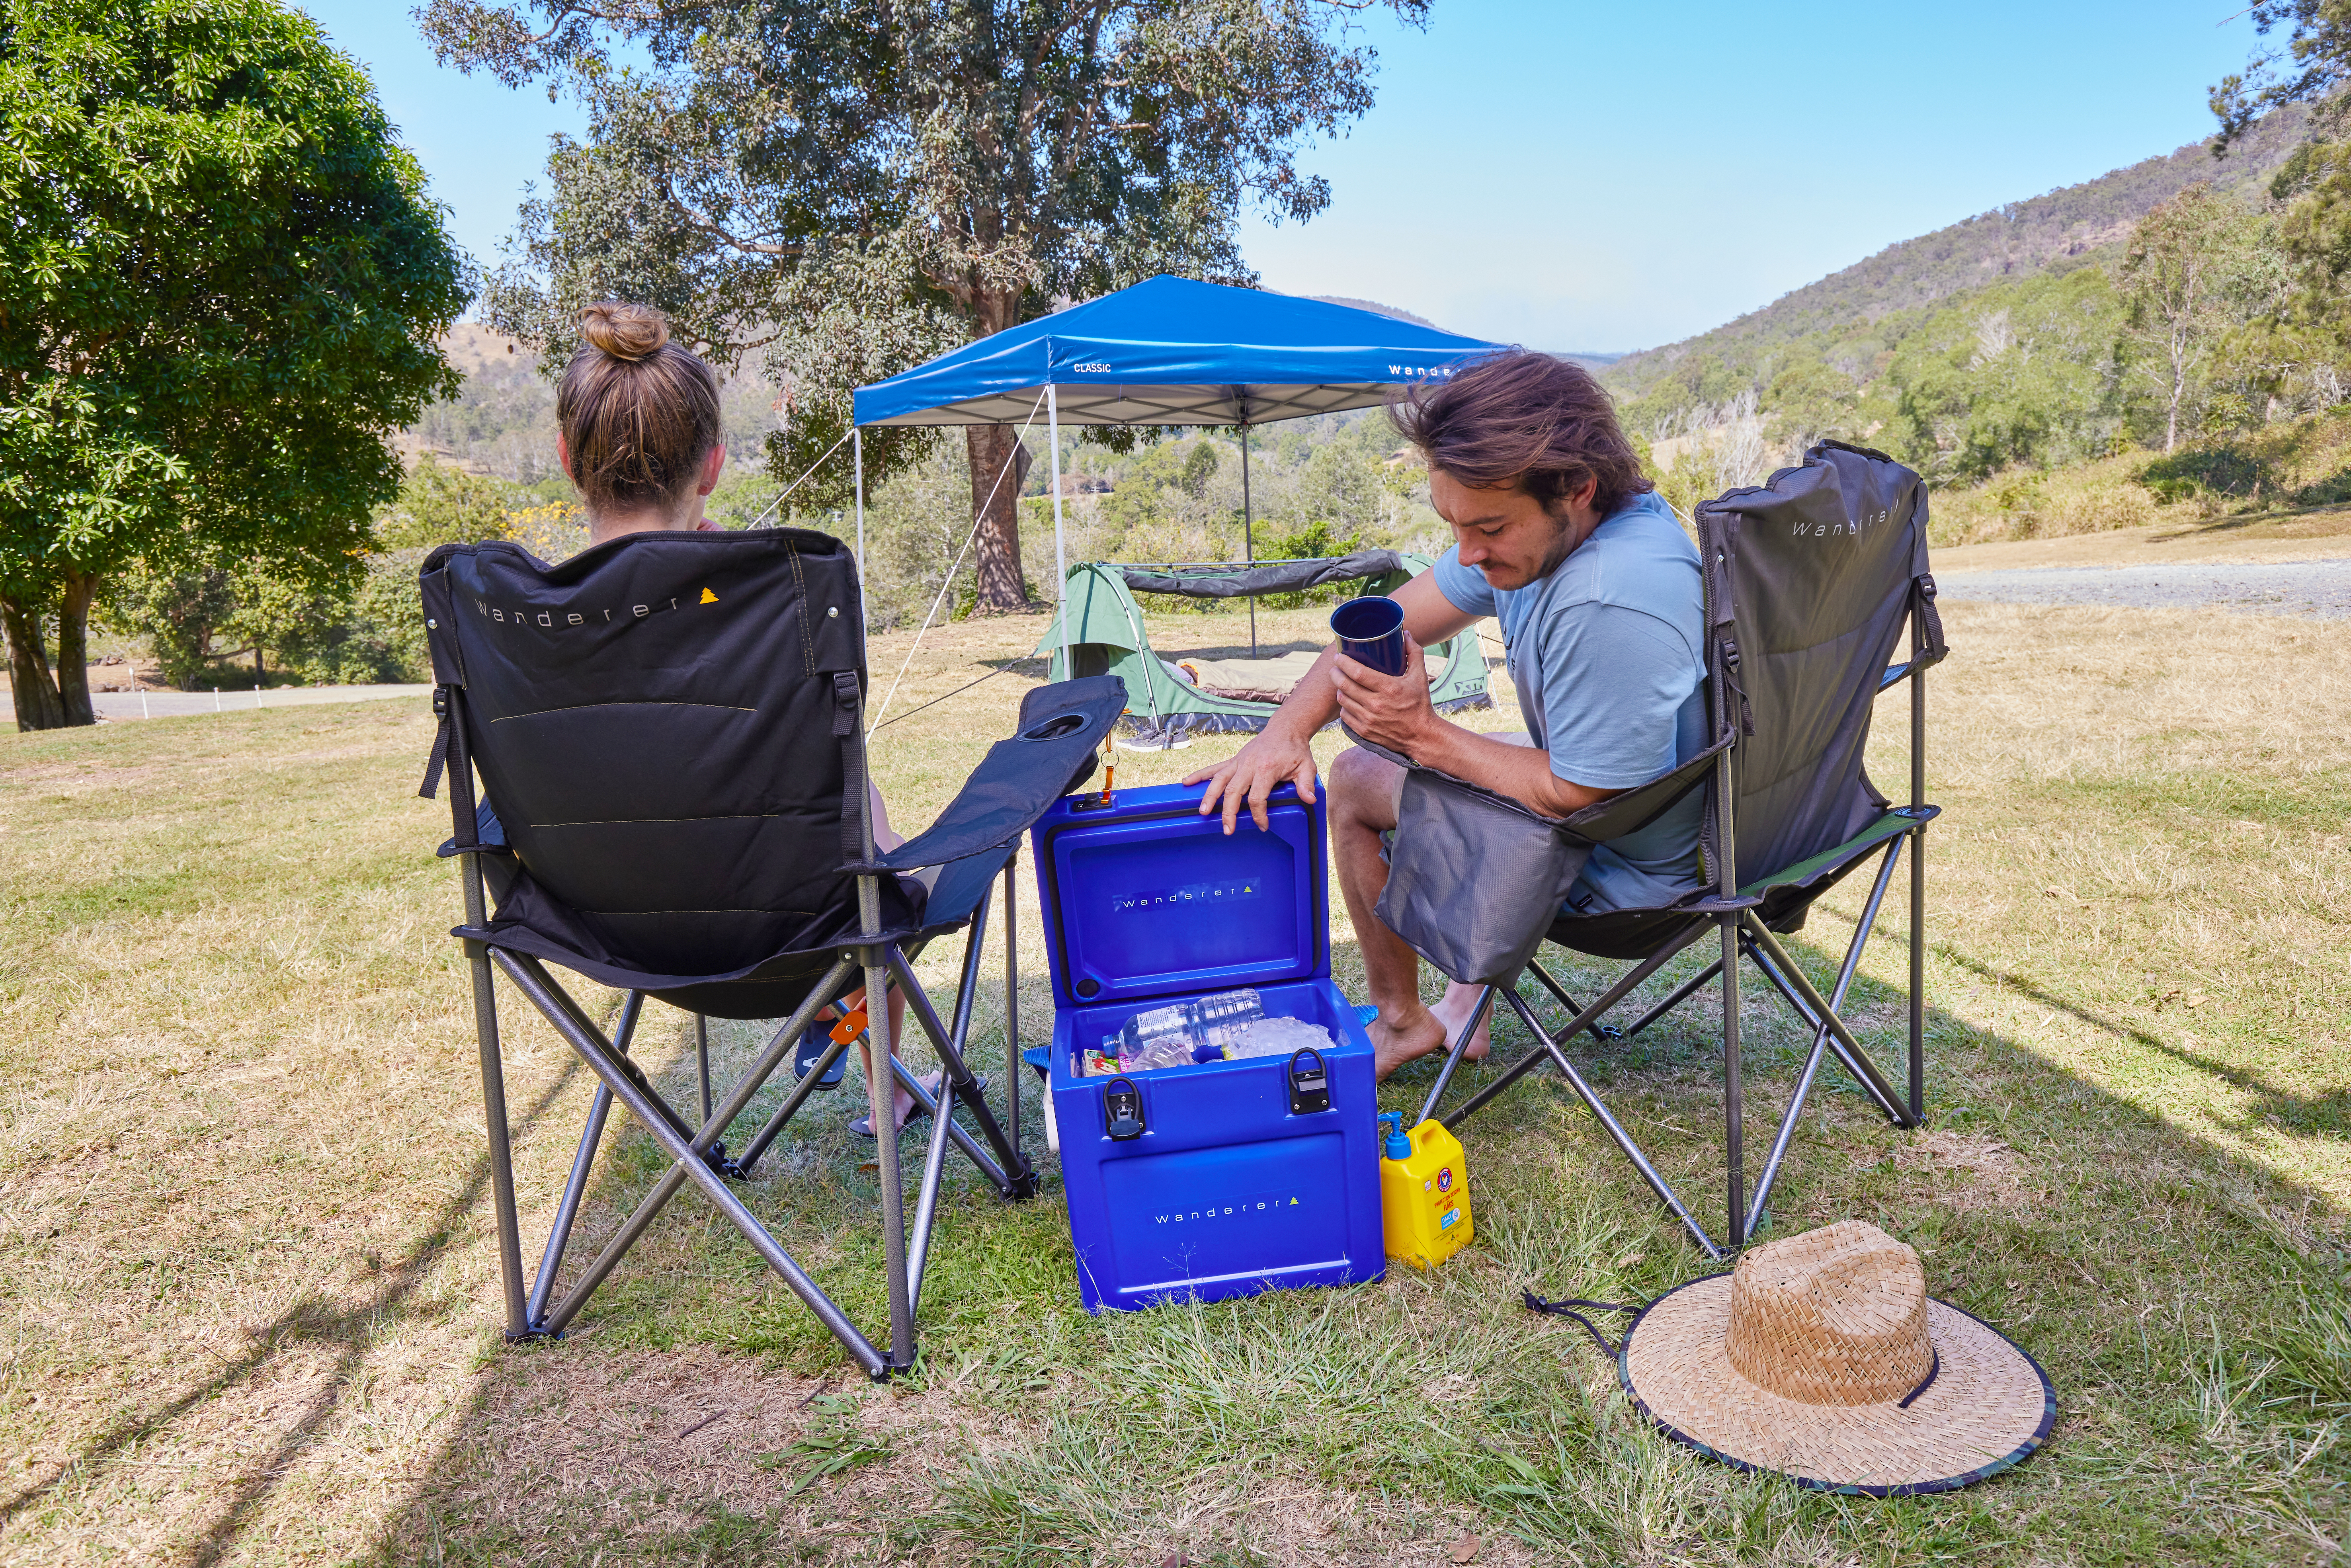
8. Storage The ideal spot to store an icebox is somewhere cool, dark and dry. Now unfortunately places like this are few and far between, but there’s a number of things you can do to help. - keep the icebox in the shade and out of direct sunlight - If storing in a vehicle, crack a couple of windows when parked up to prevent the car turning into an oven - store out of the wind if possible (the wind blows all the cold air out when you open it!) Hot tip- Covering your icebox is a great way of shielding it from direct sunlight and heat. Towels work well, or grab yourself a windscreen sunshade. They are super cheap and do an awesome job of reflecting the sunlight and heat.

